


Symptom: Weak P-90 // Fix: Flip Magnet
The purpose of this entry is not to educate the reader on the science of pickup magnet orientation. I will simply cite observations and the effective solution to a recent issue I experienced.
I recently restored a 1970 SG Special. See my blog dated 19 May 2018. The pickups selected for this project included a NOS Gibson P-90 from 1972 (the clear bobbin sort) and a P-90 that was removed from a 1963 Gibson ES-330. The latter came to me by way of partial payment for services rendered. Before I accepted it, I pulled a DCR of 8.44KΩ, which told me it wasn't dead. That's all I needed to know before tossing in into my parts bin for use some time in the future.
That time in the future came with this project. The '63 P-90 was installed in the neck position of the freshly restored SG Special, while the '72 took seat in the bridge position. When the testing was launched, the front pickup failed miserably! Yeah, you could hear it, but man was it weak.
A few thoughts occurred to me as my troubleshooting mentality took immediate control of my thoughts... switch? Pot? solder? lead? ground? What didn't occur to me right away was magnet orientation. I should've known because I had this problem before. I broke out the multimeter and checked every connection, all grounds, switch functionality, lead pathway... all checked good. Then almost instinctively I grabbed my polarity checker - a small tube with a magnet inside, painted white on one side and black on the other. Simply hold it above the pickup to see whether the poles are oriented north or south, or out of whack. Turns out, the neck pickup was out of whack (the magnet inside the tube stood on its side instead of showing white or black). Bingo!
When I acquired the pickup, I overlooked magnet orientation. Apparently a previous owner removed the magnets for whatever reason and did not replace them correctly. I've witnessed over the years markings on the side of the magnet - two perpendicular stripes. I speculate that the stripes were applied to a stack of magnets whose polarity were aligned. That said, a rule of thumb with the two P-90 magnets placement is similar fields must face each other in the center. Then it makes sense that the two perpendicular stripes should be visible on the outside perimeter of the pickup when it's assembled.
Photos are presented below with descriptions.
Stewart MacDonald sells this handy little device. You can probably use a standard Cracker Jack magnet, but I prefer this kind of tool. Here you see the orientation of polarity for the bridge pickup (1972 clear bobbin Gibson).
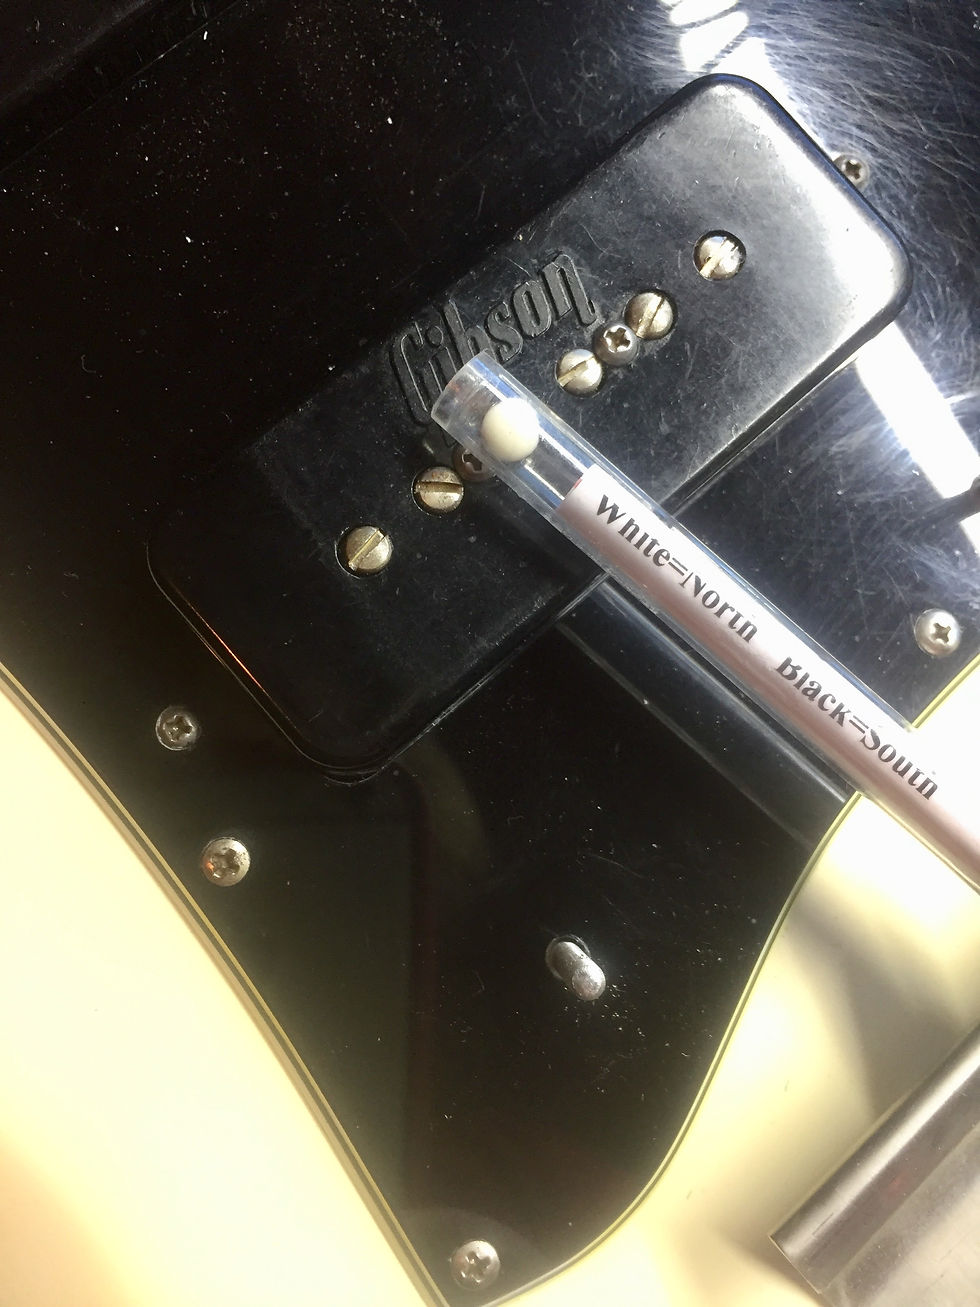
The tell-tale reading of the neck pickup - notice how the magnetic field stands the indicator on its side. Sum'n ain't right.

The pickup in question is from a 1963 Gibson ES-330. I flipped its baseplate to accommodate a custom mounting system.
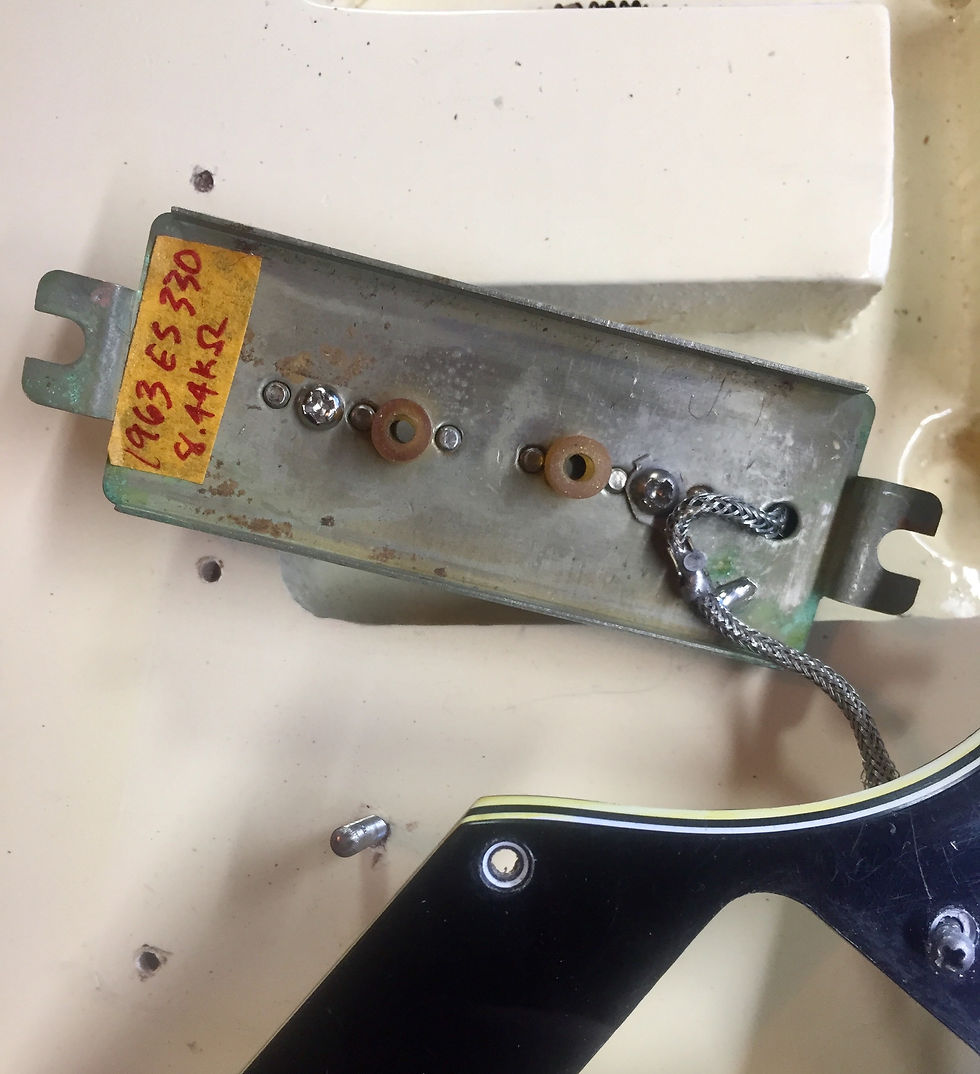
Notice the two perpendicular lines on the magnet's side...
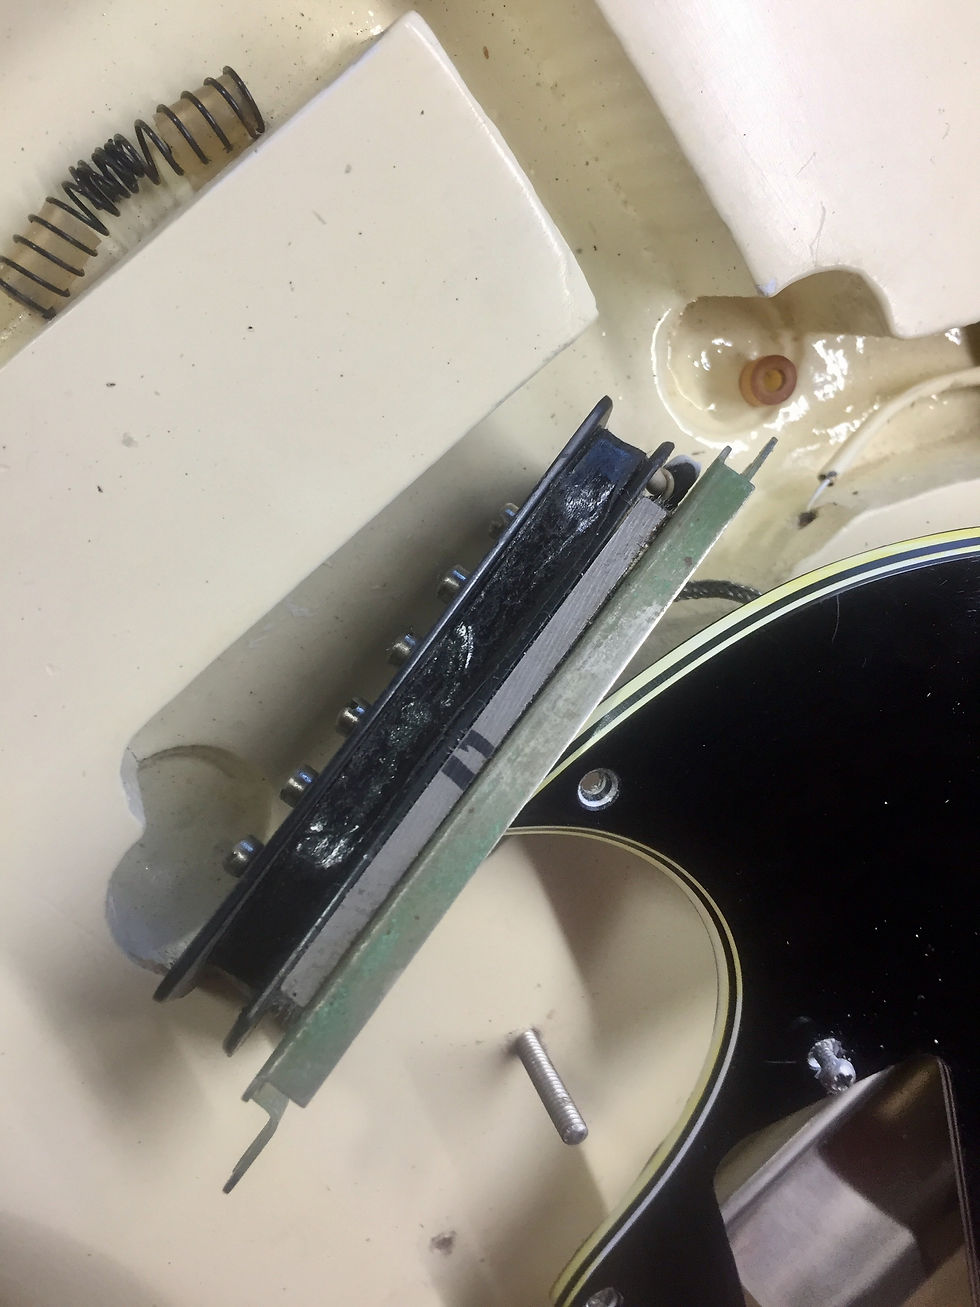
The other side shows a different story.
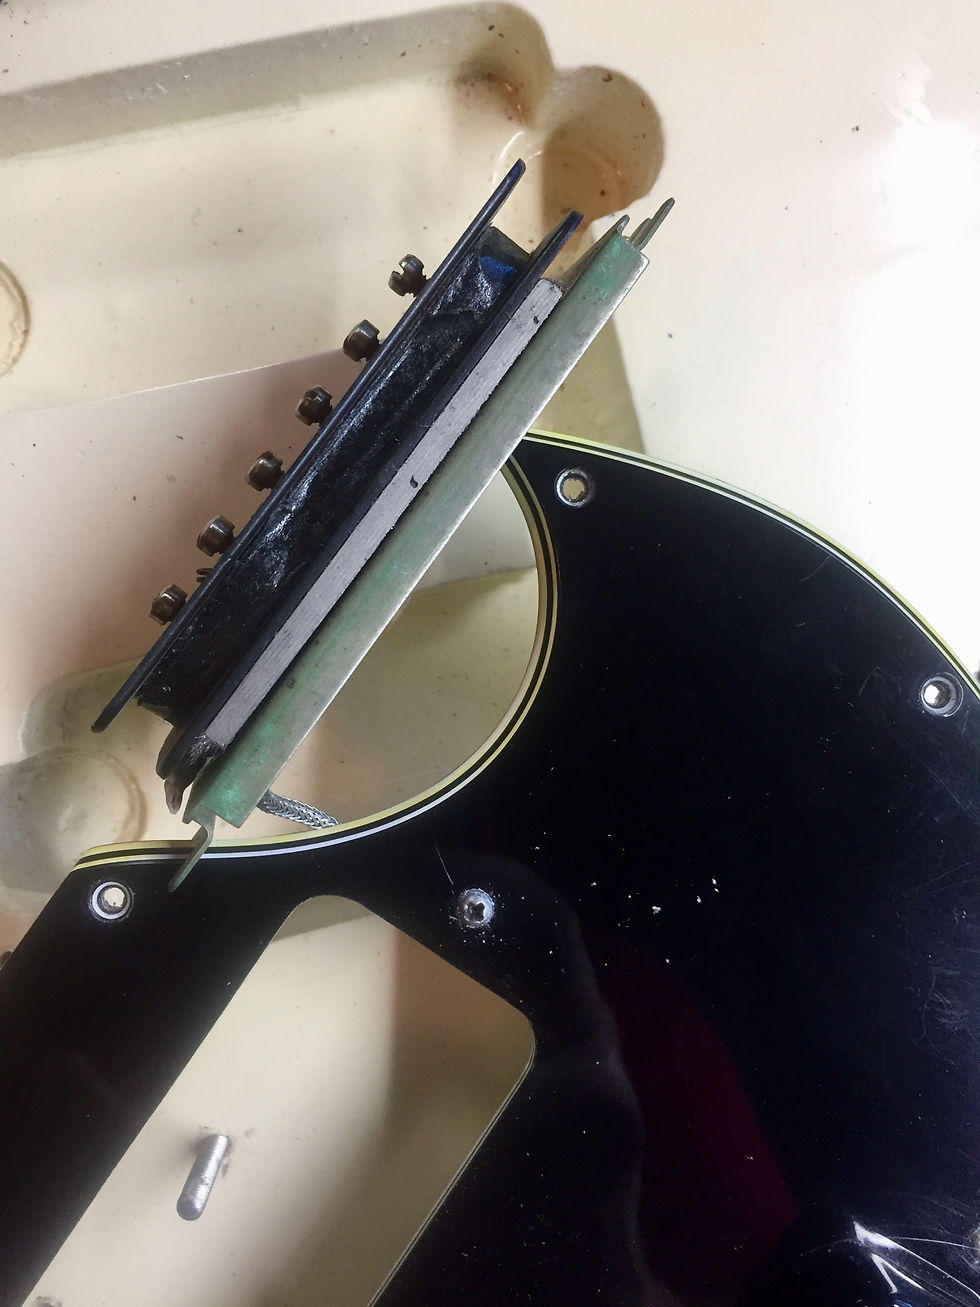
By loosening the two bobbin screws on the underside of the pickup, the magnets can be manipulated. I simply pulled out the culprit and reinstalled in proper orientation.

Another thing to consider when messing with pickup magnets is 'phase'. Without being too scientific, phase comes into play when using more than one pickup simultaneously, such as switching into the middle position with a two-pickup guitar. If the pickups are in phase (i.e. poles are similar in orientation), then a more full, robust tone will be realized. However, if the pole orientation are opposed, then the tone will be thin and a bit weaker - but that tone is coveted by many... and it adds a sonic dimension. The 'out of phase' tone is also achievable by using a phase switch or push/pull type potentiometer.
While I was dickin' about, I chose to go with that out of phase scenario. The bridge pickup is oriented north, while the neck pickup is south. The jury is out whether I'll keep it this way. It'll take some getting used to for me.

I spoke earlier about a custom mounting system I devised for this application. In order for it to work, I had to flip the baseplate on each of this pickups. In the background you see the brass plate I fashioned from some scrap. I tapped 4-40 holes for standard mounting screws. The foreground image illustrates the use of tubing to keep pressure on the brass plate via the soapbar cover screws.

Obviously inspired from my hot-rod days, the 'coil over' suspension holds the pickup assembly firmly in place. Before installation, the mounting screws had to be shortened.

Comments